Marbled Mint Brownies
Highlighted under: Home Baking | Fresh Bread
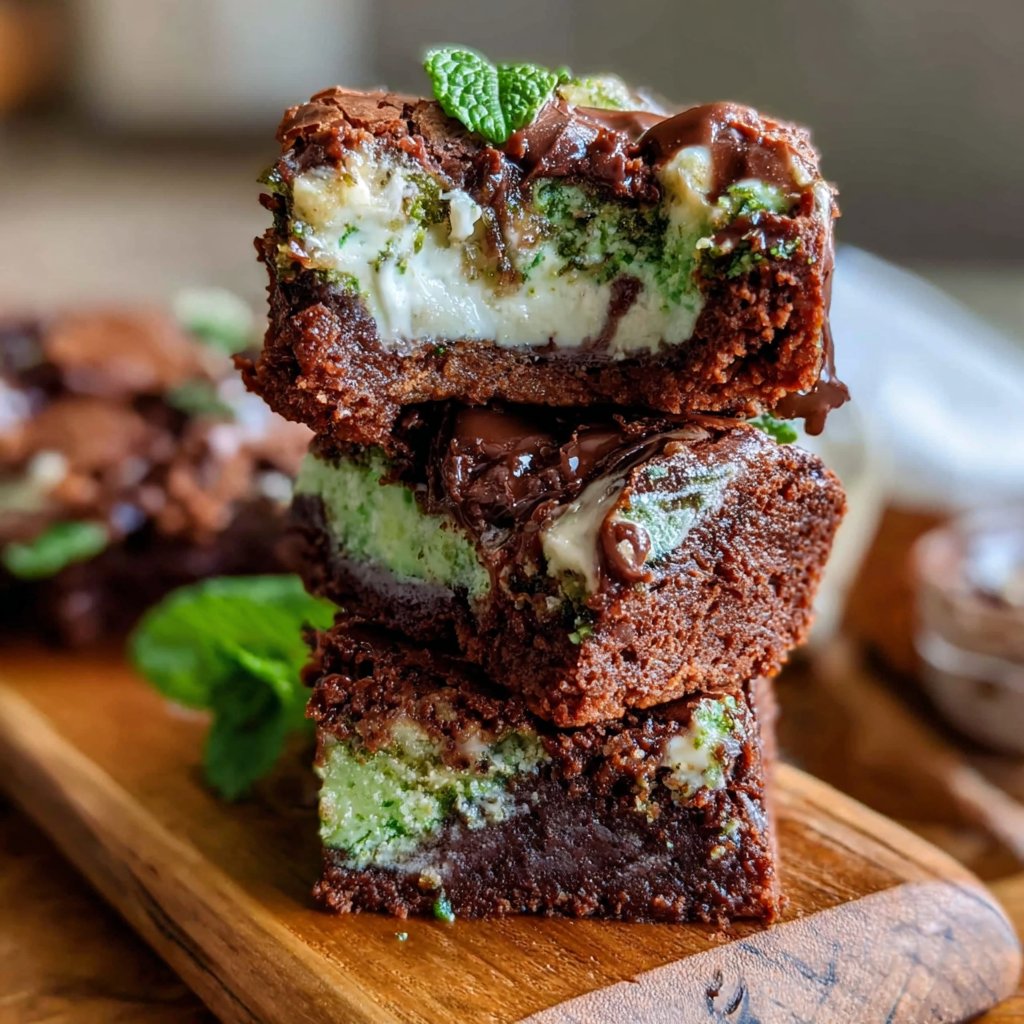
I love baking, and these Marbled Mint Brownies are a delightful way to celebrate any occasion! The combination of rich chocolate and the refreshing hint of mint creates a unique flavor profile that’s absolutely irresistible. Preparing these brownies is a fun process, especially watching the contrasting colors swirl together. They’re perfect for potlucks or as a sweet treat after dinner. Plus, they’re easy to whip up with simple ingredients, making them a staple in my baking repertoire.
When I created these Marbled Mint Brownies, I wanted to combine my love for classic brownies with a twist of freshness. After experimenting with different flavor combinations, I discovered that peppermint extract paired beautifully with rich chocolate. It was a hit from the first batch, and I still remember the surprise on my friends' faces when they tasted the unexpected mint! I learned that using good quality chocolate really enhances the overall flavor.
I recommend letting these brownies cool completely before cutting them, as this helps maintain the marbled effect. The secret to a perfect swirl is to gently fold the mint batter into the chocolate, rather than mixing it completely. This way, you get those beautiful ribbons of mint throughout each brownie. Believe me, they’ll disappear fast!

Why You'll Love These Brownies
- Decadent chocolate complemented by a perfect minty finish
- Gorgeous marbled appearance makes them stand out
- A perfect blend of textures – fudgy yet light
Understanding the Ingredients
The richness of these Marbled Mint Brownies originates primarily from the combination of butter and sugar. Using unsalted butter allows you to control the salt levels in your recipe, ensuring that the chocolate flavor shines through. Granulated sugar provides sweetness and also helps achieve that lovely glossy finish on top of your brownies. For the best texture, be sure to use room temperature eggs; they incorporate better into the batter, making for denser, fudgier brownies.
The unsweetened cocoa powder is crucial here, providing that intense chocolate flavor without any additional sweetness. Always sift your cocoa to avoid any lumps; this will create a smoother brownie batter. When it comes to the mint layer, make sure to use peppermint extract rather than spearmint for a bolder mint flavor that complements the chocolate. If you'd like a more vibrant hue, a few drops of green food coloring can not only enhance the aesthetics but also give a playful nod to the mint flavor.
Mastering the Marble Effect
Achieving the perfect marbled effect takes a bit of practice, but it can be very rewarding. After pouring the brownie batter into your prepared pan, don’t rush into swirling in the mint layer. Use a spoon to gently drop dollops of the mint mixture on top, making sure they are evenly spaced. When you swirl, employ a light touch with your knife or skewer to ensure you’re incorporating the mint without fully blending it away; you want to see that beautiful contrast between the two layers.
The swirling technique is all about balance. Aim for a figure-eight motion, which allows you to move through both batters lightly. If you over-swirl, the distinct layers will disappear, resulting in a uniform color rather than a marbled look. Ideally, you should see swirls of white and dark chocolate after baking. Keep an eye on the baking time as well; it’s crucial to remove the brownies as soon as the toothpick comes out with a few moist crumbs for that fudgy finish.
Ingredients
For the Brownies
- 1/2 cup unsalted butter
- 1 cup granulated sugar
- 2 large eggs
- 1 teaspoon vanilla extract
- 1/3 cup unsweetened cocoa powder
- 1 cup all-purpose flour
- 1/4 teaspoon salt
- 1/4 teaspoon baking powder
For the Mint Layer
- 1/2 cup powdered sugar
- 2 tablespoons unsalted butter, softened
- 1/2 teaspoon peppermint extract
- 2 tablespoons milk
- Green food coloring (optional)
Instructions
Directions
Prepare the Brownie Batter
Preheat your oven to 350°F (175°C) and grease a 9x9 inch baking pan. Melt the butter in a saucepan over medium heat. Remove from heat and stir in sugar, eggs, and vanilla. Beat in cocoa, flour, salt, and baking powder until well blended.
Make the Mint Layer
In a separate bowl, blend the powdered sugar, softened butter, peppermint extract, milk, and green food coloring until smooth. Adjust the color as desired.
Combine and Swirl
Pour half of the brownie batter into the prepared pan. Drop dollops of the mint mixture on top, then spoon the remaining brownie batter over the mint layer. Use a knife to swirl the mint layer gently into the brownie batter.
Bake
Bake in the preheated oven for 25 minutes or until a toothpick inserted into the center comes out with a few moist crumbs. Don't overbake! Allow to cool in the pan, then cut into squares.
Enjoy!
Pro Tips
- For an extra touch, sprinkle some crushed mint candies on top before baking for added texture and flavor.
Storage Suggestions
Once your Marbled Mint Brownies have cooled, store them in an airtight container at room temperature. They’ll stay fresh for up to three days, retaining their fudginess. If you’d like to keep them for longer, consider refrigerating the brownies; they can last up to a week in the fridge without losing much texture or flavor. Just make sure to wrap them tightly to prevent them from absorbing any odors from the fridge.
For even longer storage, freezing is an excellent option. Cut the brownies into squares and layer them between parchment paper in a freezer-safe container. They can be frozen for up to three months. When you’re ready to enjoy them, thaw them in the fridge for a few hours before bringing them to room temperature for the best taste and texture.
Serving Ideas and Variations
For an elevated presentation, serve these brownies with a scoop of vanilla ice cream and a drizzle of chocolate sauce. The contrast of temperatures and textures takes the experience to a whole new level. You could also sprinkle chopped peppermint candies on top for an extra crunch and minty kick, making them visually appealing as well as delicious.
If you want to experiment with flavors, consider adding a layer of crushed walnuts or pecans for added texture in the brownie batter. Alternatively, you can swap the peppermint extract with other extracts like almond or orange for a delightful twist, suitable for varying tastes and seasonal celebrations.
Questions About Recipes
→ Can I use fresh mint instead of extract?
Yes, but fresh mint will alter the texture. Use finely chopped fresh mint leaves for a subtle flavor.
→ How do I store leftovers?
Store in an airtight container at room temperature for up to 3 days or in the refrigerator for up to a week.
→ Can I freeze these brownies?
Absolutely! Freeze them in an airtight container for up to 3 months. Thaw in the refrigerator before serving.
→ What can I use instead of eggs?
You can substitute with flaxseed meal or applesauce for an egg-free version – use 1/4 cup of applesauce or 1 tablespoon of flaxseed meal mixed with 2.5 tablespoons of water.
Marbled Mint Brownies
Created by: The Chefpeterscooks Team
Recipe Type: Home Baking | Fresh Bread
Skill Level: Intermediate
Final Quantity: 16 brownies
What You'll Need
For the Brownies
- 1/2 cup unsalted butter
- 1 cup granulated sugar
- 2 large eggs
- 1 teaspoon vanilla extract
- 1/3 cup unsweetened cocoa powder
- 1 cup all-purpose flour
- 1/4 teaspoon salt
- 1/4 teaspoon baking powder
For the Mint Layer
- 1/2 cup powdered sugar
- 2 tablespoons unsalted butter, softened
- 1/2 teaspoon peppermint extract
- 2 tablespoons milk
- Green food coloring (optional)
How-To Steps
Preheat your oven to 350°F (175°C) and grease a 9x9 inch baking pan. Melt the butter in a saucepan over medium heat. Remove from heat and stir in sugar, eggs, and vanilla. Beat in cocoa, flour, salt, and baking powder until well blended.
In a separate bowl, blend the powdered sugar, softened butter, peppermint extract, milk, and green food coloring until smooth. Adjust the color as desired.
Pour half of the brownie batter into the prepared pan. Drop dollops of the mint mixture on top, then spoon the remaining brownie batter over the mint layer. Use a knife to swirl the mint layer gently into the brownie batter.
Bake in the preheated oven for 25 minutes or until a toothpick inserted into the center comes out with a few moist crumbs. Don't overbake! Allow to cool in the pan, then cut into squares.
Extra Tips
- For an extra touch, sprinkle some crushed mint candies on top before baking for added texture and flavor.
Nutritional Breakdown (Per Serving)
- Calories: 300 kcal
- Total Fat: 15g
- Saturated Fat: 9g
- Cholesterol: 60mg
- Sodium: 80mg
- Total Carbohydrates: 40g
- Dietary Fiber: 2g
- Sugars: 25g
- Protein: 3g